
The following walkthroughs will help you with any email setup questions you might have. Once you have your email client configured with the proper settings, you will be able to send and receive properly on our new and improved website hosting platform.
|
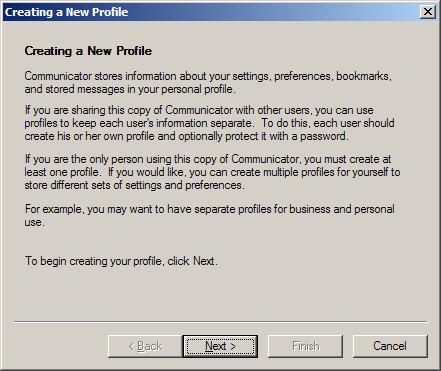
Open Netscape Communicator 4.8. The 'Creating a New Profile' wizard will appear. Click 'Next'. |
|
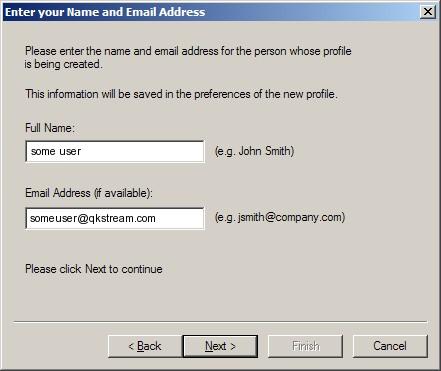
Enter your Name and Email Address This is where you can choose what name will be displayed in the FROM area when you send an email. A good idea is to use your real name or business name (if this is a generic mailbox). 'Your Name': This is also where you type in your email address. 'Email Address': Click 'Next'. |
|
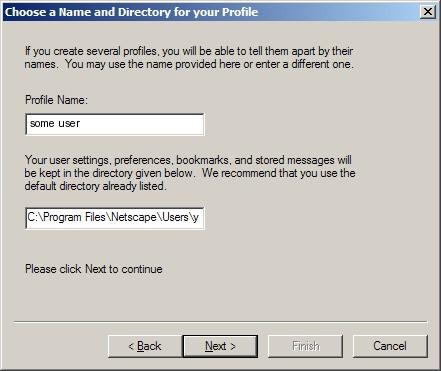
Choose a Name and Directory for your Profile This is the name that Netscape Communicator will use to store your information, so a good idea is to keep it the same as what you put in the previous screen for 'Your Name'. Replace with: Your Name This screen will also allow you to setup where your Netscape Profile will be saved to. We recommend that you use the default directory already listed. Click 'Next' to continue. |
|
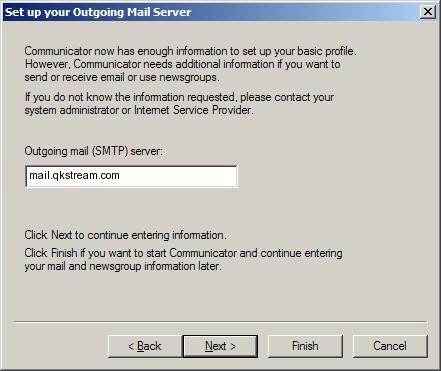
Set up your Outgoing Mail Server 'Outgoing mail (SMTP) server': Click 'Next'. |
|
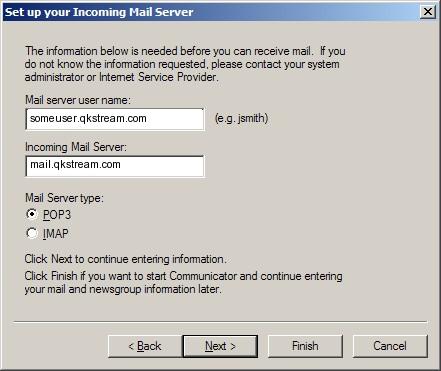
Set up your Incoming Mail Server 'Mail server user name': 'Incoming mail server': 'Mail Server type': Click 'Finish' and it will open up Netscape Communicator where you can click on the Mail & Newsgroups icon to launch your email program. You should be able to send and receive email. |
|
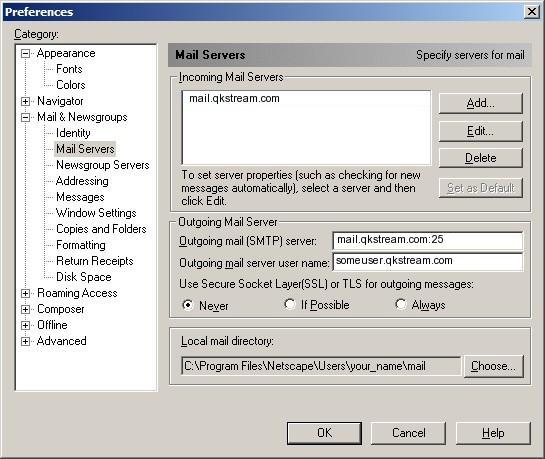
Change your outgoing mail (SMTP) port from the default of 25 to 1025. To do this: Click on the 'Edit' menu > 'Preferences...' > 'Mail Servers' sub-category on the left. Change the 'Outgoing mail (SMTP) server' from 'Replace with: mail.your_website_address.com' to 'Replace with: mail.your_website_address.com:1025'. |
© 2008 QuickStream Wireless Internet